Prepare to deploy to Staging and Production
Previous step
When you are ready to deploy your store, you must complete deployment and testing on the Staging environment before deploying to Production. The Staging environment provides a near-production environment that includes a database, web server, and all services including Fastly, New Relic, and Blackfire.
The following information provides the prerequisites to deploy Magento Commerce Starter and Pro projects to the Cloud platform.
Starter plan projects
For Starter, merge all code into a “staging” branch for testing prior to deploying to Production. All active branches and environments are part of the PaaS infrastructure and have access to information, such as store URLs and SSH link.
You can deploy to Starter environments from the Project Web Interface or using CLI commands.
Prerequisites:
- Get your access URLs and SSH information.
- Add your public SSH key to your project.
Get your Starter access URLs and SSH information
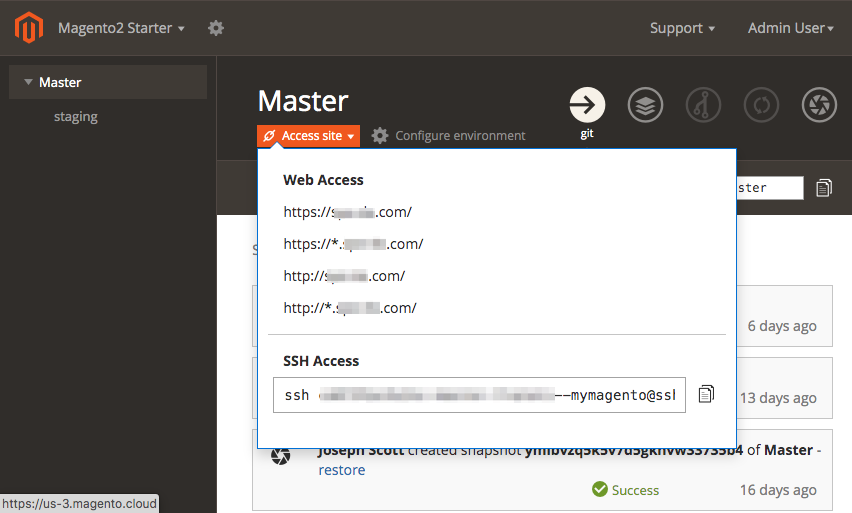
You can find URLs and SSH connection information from the Project Web Interface. For each selected environment or branch, you have an Access Site link. Your initial project is provisioned with a Master environment, which is Production, and any additional branches you create, including Staging (recommended) and development branches for custom code.
-
Log in to your Magento Commerce Cloud account.
-
Select an environment.
-
Click Access site to display the URL and SSH information.
Pro plan projects
For Pro plan projects, you must merge your completed development code to the Integration branch. Only the Integration environment branch can deploy to Staging, then Production.
For first time setup to migrate your database and deploy code to Staging or Production, complete the following steps:
-
Create a support ticket to migrate deployment hooks. In this ticket, include your public SSH keys to add to Staging and Production.
-
Get your access URLs and SSH for Staging and Production.
-
Add your public SSH key to your Magento Commerce Cloud project environments.
If you have not done so already, set up Fastly CDN services on your Staging and Production environments. See Fastly set up.
Migrate your .magento.app.yaml file
If you have not modified the default deployment hooks or configurations, skip this step and continue with Get your Pro access URLs. Only migrate the file if you modified the deployment hooks or added configuration updates.
You can request that we push .magento.app.yaml, services.yaml, and routes.yaml, set up cron jobs, and enable Xdebug and PHPUnit, which assists you in troubleshooting coding issues encountered during deployment. Because of the memory requirements, we recommend you disable Xdebug before your site is live.
Optionally, you can replace the hooks section with a shell script that you can maintain without intervention. You need only to create a support ticket the first time you use the shell script.
Get your Pro access URLs
You can locate your URLs through the Project Web Interface. There is an Access Site link for each active environment.

-
Git URL format:
- Staging:
git@git.<region>.magento.cloud:<project ID>_staging.git - Production:
git@git.<region>.magento.cloud:<project ID>.git
- Staging:
-
SSH access:
- Staging:
ssh <node>.ent-<project ID>-staging-<system ID>@ssh.<region>.magento.cloud - Production:
ssh <node>.ent-<project ID>-production-<system ID>@ssh.<region>.magento.cloud
- Staging:
-
Web URL format:
- Staging:
http[s]://<your domain>.c.staging-<project ID>.ent.magento.cloud - Production:
http[s]://<your domain>.c.<project ID>.ent.magento.cloud
- Staging:
Add SSH key to project environments
Add your SSH public key to Magento Commerce Cloud environments:
- Starter–Add to Master (Production) and any environments you create by branching from Master
- Pro–Add to the Master Integration, Staging, and Production environments
To add an SSH key using the Project Web Interface:
-
Copy your SSH public key to the clipboard.
If you do not already have SSH keys on that machine, see the GitHub documentation to create them.
-
Login and access your project through the Project Web Interface.
-
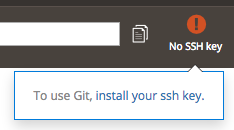
In your selected branch, an icon displays if you do not have an SSH key added.
-
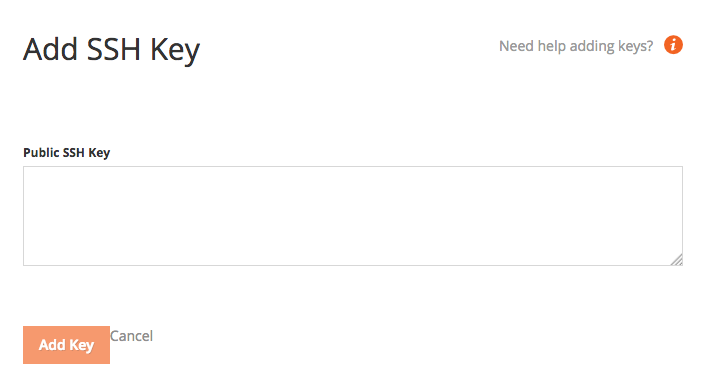
Copy and paste the content of your public SSH key in the screen.
-
Follow the prompts on your screen to complete the task.
You can also add an SSH key using the Magento Commerce Cloud CLI. See Add an SSH key using the CLI.
Next step