WYSIWYG component
The WYSIWYG component is an adapter for TinyMCE v4 that integrates an editor instance with the form component. It expects a complete widget declaration in the content option, which should contain both markup and the script responsible for creating the editor’s instance.
Magento supports all selector, plugin, and toolbar/menu configuration options supported by the TinyMCE v4 tinymce.init() method. However, Magento doesn’t validate TinyMCE configuration options or flag invalid values before adding the editor to a page.
Refer to TinyMCE’s documentation for more information.
Configuration options
Extends all abstract configuration.
Wysiwyg-specific options:
| Option | Description | Type | Default |
|---|---|---|---|
class |
The path to the component class. | Object | Magento\Ui\Component\Form\Element\Wysiwyg |
component |
The path to the component’s .js file in terms of RequireJS. |
String | 'Magento_Ui/js/form/element/wysiwyg' |
content |
Initial WYSIWYG content. | String | '' |
elementSelector |
The selector of the HTML element that is wrapped by the WYSIWYG editor. | String | 'textarea' |
elementTmpl |
The path to the template particular field type template, specific for this component. | String | 'ui/form/element/wysiwyg' |
links.value |
Links the component’s value property with the provider, using the path that is declared in the dataScope property. |
String | '${ $.provider }:${ $.dataScope }' |
template |
The path to the general Field template. | String | 'ui/form/field' |
Events
Events are dispatched by modules when certain actions are triggered. When an event is dispatched, it can pass data to any observers configured to watch that event.
See Events and observers to learn more about events and how to use them.
The following are available events for use in the WYSIWYG component adapter for TinyMCE4:
tinymceBeforeSetContent- fires before the contents are inserted into the editortinymcePaste- fires when a paste is done within the editortinymceSaveContent- fires when the contents in the editor are savedtinymceSaveContent(PostProcess) - fires when the contents in the editor are being serializedtinymceUndo- fires when the contents have been reverted to a previous statetinymceFocus- fires when the editor is focusedtinymceBlur- fires when the editor is blurredtinymceChange- fires when undo level is added to the editorwysiwygEditorInitialized- fires when the WYSIWYG editor is initialized
Source files
Extends Abstract:
- app/code/Magento/Ui/view/base/web/js/form/element/wysiwyg.js
- app/code/Magento/Ui/view/base/web/templates/form/field.html
- app/code/Magento/Ui/view/base/web/templates/form/element/wysiwyg.html
- app/code/Magento/Ui/Component/Form/Element/Wysiwyg.php
Add a default editor
Adding the default Magento WYSIWYG editor to a page requires the following steps:
- Create a layout
- Create a form
- Add a data provider, controller, and routes
The following example shows how to integrate the default Magento WYSIWYG editor as a UI component inside a custom form.
First, create a layout file in the ModuleName\view\adminhtml\layout directory and register the UI component:
ModuleName\view\adminhtml\layout\wysiwyg_on_custom_page.xml
1
2
3
4
5
6
7
8
9
10
11
12
13
14
<?xml version="1.0"?>
<!--
/**
 * Copyright © Magento, Inc. All rights reserved.
 * See COPYING.txt for license details.
 */
-->
<page xmlns:xsi="http://www.w3.org/2001/XMLSchema-instance" xsi:noNamespaceSchemaLocation="urn:magento:framework:View/Layout/etc/page_configuration.xsd">
    <body>
        <referenceContainer name="content">
            <uiComponent name="wysiwyg_on_custom_page"/>
        </referenceContainer>
    </body>
</page>
Next, create a custom form in the ModuleName\view\adminhtml\ui_component directory:
ModuleName\view\adminhtml\ui_component\wysiwyg_custom_form.xml
1
2
3
4
5
6
7
8
9
10
11
12
13
14
15
16
17
18
19
20
21
22
23
24
25
26
27
28
29
30
31
32
33
34
35
36
37
38
<?xml version="1.0"?>
<!--
/**
 * Copyright © Magento, Inc. All rights reserved.
 * See COPYING.txt for license details.
 */
-->
<form xmlns:xsi="http://www.w3.org/2001/XMLSchema-instance" xsi:noNamespaceSchemaLocation="urn:magento:module:Magento_Ui:etc/ui_configuration.xsd">
    <fieldset name="content">
        <settings>
            <label>Wysiwyg Content</label>
        </settings>
        <field name="wysiwyg_example" sortOrder="50" formElement="wysiwyg">
            <argument name="data" xsi:type="array">
                <item name="config" xsi:type="array">
                    <item name="wysiwygConfigData" xsi:type="array">
                        <item name="height" xsi:type="string">100px</item>
                        <item name="add_variables" xsi:type="boolean">true</item>
                        <item name="add_widgets" xsi:type="boolean">true</item>
                        <item name="add_images" xsi:type="boolean">true</item>
                        <item name="add_directives" xsi:type="boolean">true</item>
                    </item>
                </item>
            </argument>
            <settings>
                <label>Content</label>
            </settings>
            <formElements>
                <wysiwyg>
                    <settings>
                        <rows>8</rows>
                        <wysiwyg>true</wysiwyg>
                    </settings>
                </wysiwyg>
            </formElements>
        </field>
    </fieldset>
</form>
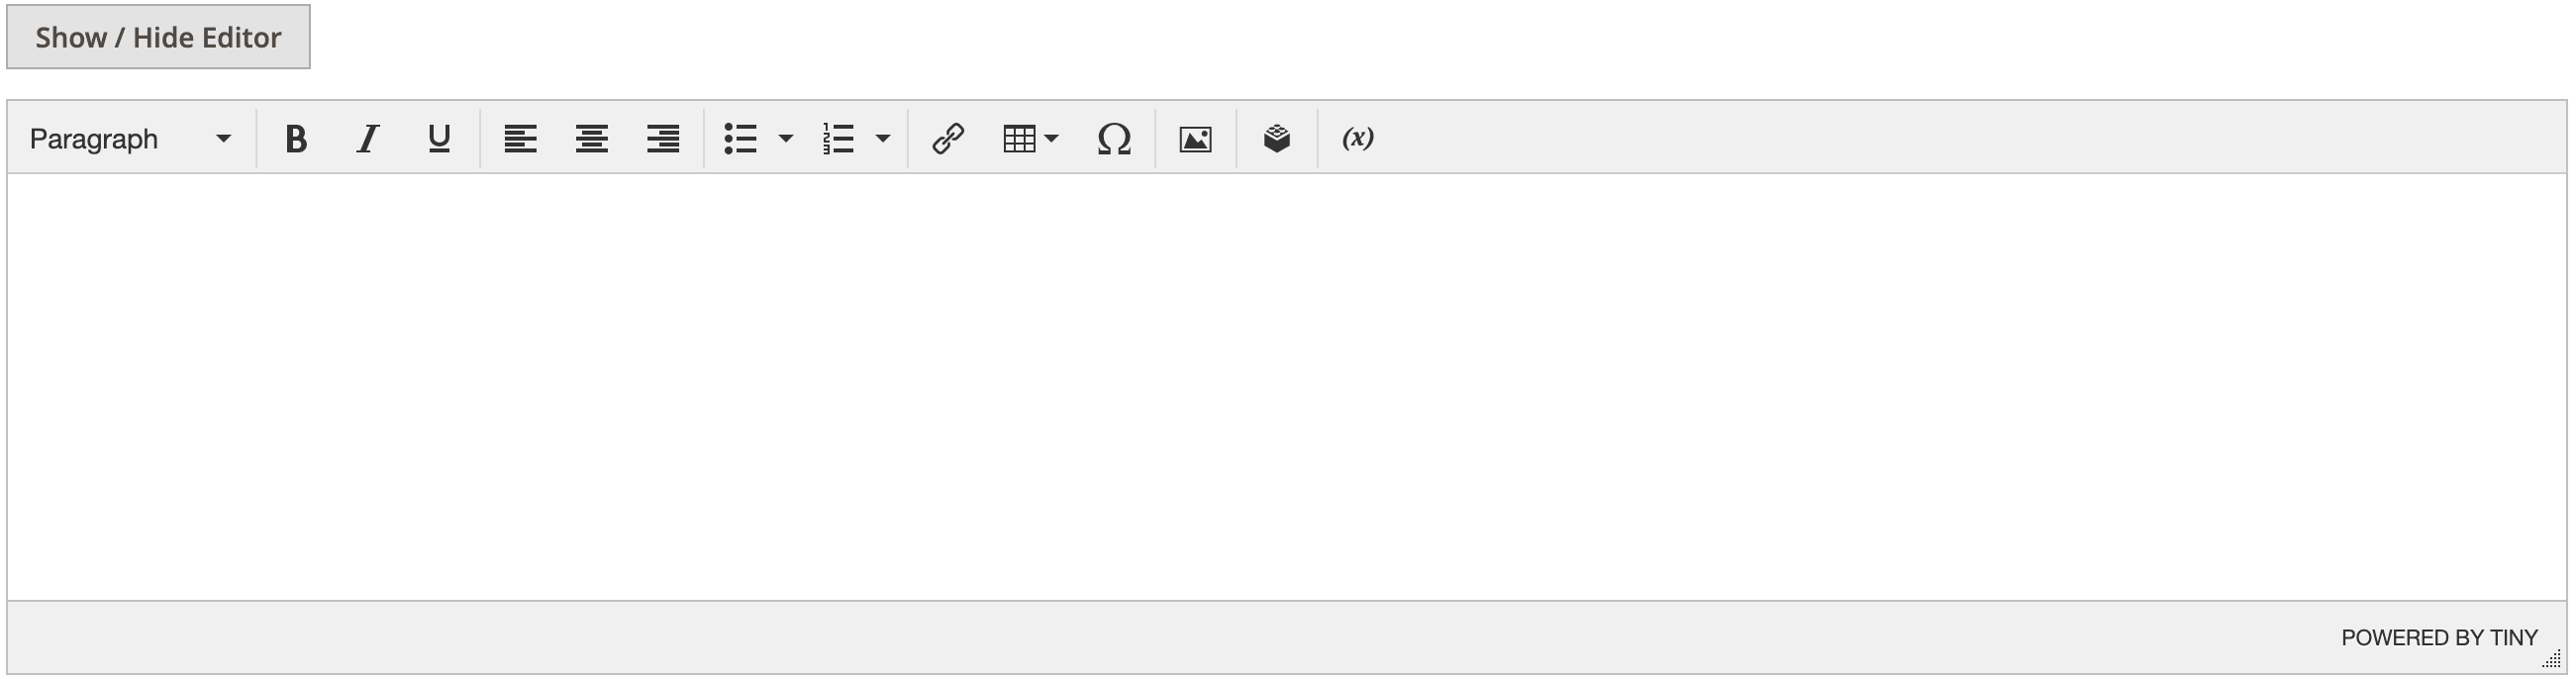
Result
Last, add your data provider, controller, and routes. Refer to Creating a Magento admin page for more information.
Modify the default editor
The most common way to configure UI components in Magento is to add a configuration section inside the XMl element when declaring it on a form. If you need to apply dynamic modifications to a UI component, we recommend using PHP modifiers since Magento supports replacing the default WYSIWYG editor with other WYSIWYG libraries.
Refer to About PHP modifiers in UI components for more information.
To use PHP modifiers, your data provider must inherit from ModifierPoolDataProvider. The following class adds support for modifier pools, which are required when using modifiers. Inheriting from this class allows you to use modifiers.
Magento\Ui\DataProvider\ModifierPoolDataProvider
1
2
3
4
5
6
7
8
9
10
11
12
13
14
15
16
17
18
19
20
21
22
23
24
25
26
27
28
29
30
31
32
33
34
35
36
37
38
39
40
41
42
43
44
45
46
47
48
49
50
51
52
53
54
55
56
57
58
59
60
61
62
63
64
65
66
67
68
69
70
<?php
/**
 * Copyright © Magento, Inc. All rights reserved.
 * See COPYING.txt for license details.
 */
namespace Magento\Ui\DataProvider;

use Magento\Framework\App\ObjectManager;
use Magento\Ui\DataProvider\Modifier\ModifierInterface;
use Magento\Ui\DataProvider\Modifier\Pool;
use Magento\Ui\DataProvider\Modifier\PoolInterface;

class ModifierPoolDataProvider extends AbstractDataProvider
{
    /**
     * @var PoolInterface
     */
    private $pool;

    /**
     * @param string $name
     * @param string $primaryFieldName
     * @param string $requestFieldName
     * @param PoolInterface|null $pool
     * @param array $meta
     * @param array $data
     */
    public function __construct(
        $name,
        $primaryFieldName,
        $requestFieldName,
        array $meta = [],
        array $data = [],
        PoolInterface $pool = null
    ) {
        parent::__construct($name, $primaryFieldName, $requestFieldName, $meta, $data);
        $this->pool = $pool ?: ObjectManager::getInstance()->get(PoolInterface::class);
    }

    /**
     * {@inheritdoc}
     */
    public function getData()
    {
        $this->getConfigData();

        foreach ($this->pool->getModifiersInstances() as $modifier) {
            $this->data = $modifier->modifyData($this->data);
        }

        return $this->data;
    }

    /**
     * {@inheritdoc}
     */
    public function getMeta()
    {
        $this->meta = parent::getMeta();

        /** @var ModifierInterface $modifier */
        $this->pool->getModifiers();

        foreach ($this->pool->getModifiersInstances() as $modifier) {
            $this->meta = $modifier->modifyMeta($this->meta);
        }

        return $this->meta;
    }
}
Your form must then use a data provider that inherits from ModifierPoolDataProvider. For example:
Test\Module\Model\DataProvider
1
2
3
4
5
6
7
8
9
10
11
12
13
14
15
16
17
18
19
20
21
22
23
24
25
26
27
28
<?php
/**
 * Copyright © Magento, Inc. All rights reserved.
 * See COPYING.txt for license details.
 */
namespace Test\Module\Model;

use Magento\Ui\DataProvider\Modifier\PoolInterface;
use Test\Module\Model\ResourceModel\WysiwygContent\CollectionFactory;

/**
 * Class DataProvider
 */
class DataProvider extends \Magento\Ui\DataProvider\ModifierPoolDataProvider
{
    public function __construct(
        $name,
        $primaryFieldName,
        $requestFieldName,
        CollectionFactory $collectionFactory,
        array $meta = [],
        array $data = [],
        PoolInterface $pool = null
    ) {
        parent::__construct($name, $primaryFieldName, $requestFieldName, $meta, $data, $pool);
        $this->collection = $collectionFactory->create();
    }
}
After you configure the modifier pool in your data provider, you must create the modifier. This is the code that changes the default configuration defined in Magento\Cms\Model\Wysiwyg\Config.php. Modifier values override the default configuration, so they allow you to change default behavior.
The following example shows how to change the default Magento WYSIWYG editor toolbar and plugins configuration:
Test\Module\Ui\DataProvider\Custom\Modifier\WysiwygConfigModifier
1
2
3
4
5
6
7
8
9
10
11
12
13
14
15
16
17
18
19
20
21
22
23
24
25
26
27
28
29
30
31
32
33
34
35
36
37
38
39
40
41
42
<?php
/**
 * Copyright © Magento, Inc. All rights reserved.
 * See COPYING.txt for license details.
 */
namespace Test\Module\Ui\DataProvider\Custom\Modifier;

use Magento\Ui\DataProvider\Modifier\ModifierInterface;
use Magento\Ui\DataProvider\Modifier\WysiwygModifierInterface;

/**
 * Class WysiwygConfigModifier
 *
 * @api
 *
 * @SuppressWarnings(PHPMD.NumberOfChildren)
 * @since 101.0.0
 */
class WysiwygConfigModifier implements ModifierInterface
{
    /**
     * @param array $data
     * @return array
     * @since 100.1.0
     */
    public function modifyData(array $data)
    {
        return $data;
    }

    /**
     * @param array $meta
     * @return array
     * @since 100.1.0
     */
    public function modifyMeta(array $meta)
    {
        $meta['content']['children']['custom_wysiwyg_on_custom_page']['arguments']['data']['config']['wysiwygConfigData']['tinymce4']['toolbar'] = 'bold italic underline | alignleft aligncenter alignright | code';
        $meta['content']['children']['custom_wysiwyg_on_custom_page']['arguments']['data']['config']['wysiwygConfigData']['tinymce4']['plugins'] = 'advlist autolink lists link image charmap media table contextmenu paste code help table';
        return $meta;
    }
}
The last thing you need to do is configure the data provider’s pool and connect the pool to your modifier. This is done through dependency injection, so you need to add a di.xml file to your project at ModuleName\etc\adminhtml\di.xml.
Here’s an example that connects the data provider and modifier created in the previous steps:
Test\Module\etc\adminhtml\di.xml
1
2
3
4
5
6
7
8
9
10
11
12
13
14
15
16
17
18
19
20
21
22
23
24
<?xml version="1.0"?>
<!--
/**
 * Copyright © Magento, Inc. All rights reserved.
 * See COPYING.txt for license details.
 */
-->
<config xmlns:xsi="http://www.w3.org/2001/XMLSchema-instance" xsi:noNamespaceSchemaLocation="urn:magento:framework:ObjectManager/etc/config.xsd">
    <virtualType name="CustomModifierPool" type="Magento\Ui\DataProvider\Modifier\Pool">
        <arguments>
            <argument name="modifiers" xsi:type="array">
                <item name="wysiwyg-custom" xsi:type="array">
                    <item name="class" xsi:type="string">Test\Module\Ui\DataProvider\Custom\Modifier\WysiwygConfigModifier</item>
                    <item name="sortOrder" xsi:type="number">10</item>
                </item>
            </argument>
        </arguments>
    </virtualType>
    <type name="Test\Module\Model\DataProvider">
        <arguments>
            <argument name="pool" xsi:type="object">CustomModifierPool</argument>
        </arguments>
    </type>
</config>
If your form already uses the ModifierPool, you can continue using it to control the configuration of your WYSIWYG components.