Set up multiple websites, stores, and store views in the Admin
This task requires you to create a root category (and additional categories if desired) for each store. The tasks discussed in this topic provide one way to set up multiple stores. For additional information, see the following resources in the Magento User Guide:
For example purposes only, we use a French website with website code french in this topic. For step-by-step tutorials, see Tutorial: Set up multiple websites with Apache and Tutorial: Set up multiple websites with nginx
Step 1: Create root categories
Creating a root category is optional, but we show how to do it in this tutorial in the event you want each website to have a unique root category. You can create additional categories if you choose.
- Log in to the Magento Admin as a user authorized to create categories.
- Click Products > Categories.
- Click Add Root Category.
- In the Category Name field, enter a unique name to identify this category.
-
Make sure Enable Category is set to Yes.
For information about the other options on this page, see Root Categories.
The following figure shows an example.
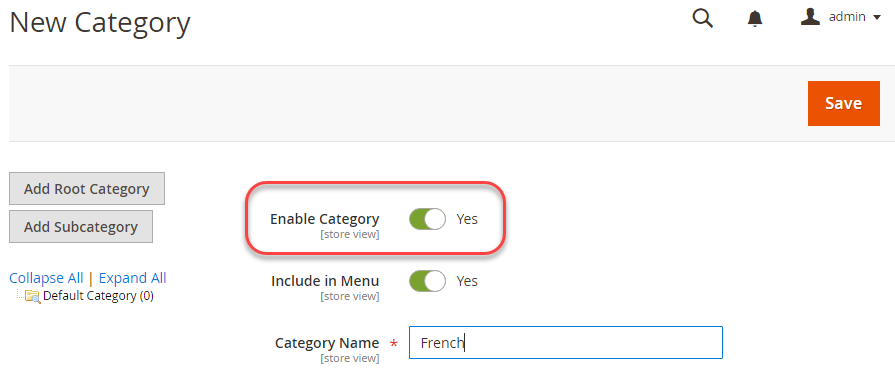
- Click Save.
- Repeat these tasks as many times as necessary to create root categories for your stores.
Step 2: Create websites
- Log in to the Magento Admin as a user authorized to create websites, stores, and store views.
- Click Stores > Settings > All Stores.
-
On the Stores page, click Create Website.
- Name—Enter a name to identify the website.
- Code—Enter a unique code; for example, if you have a French store, you can enter
french - Sort Order—Enter an optional numerical sort order.
The following figure shows an example.
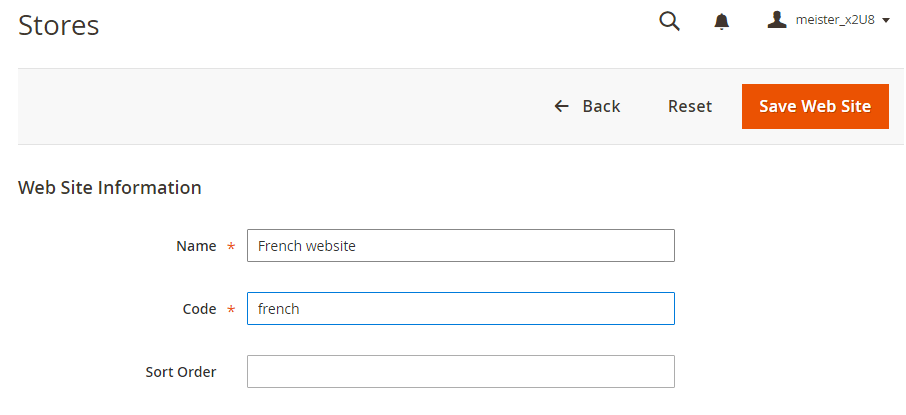
- Click Save Web Site.
- Repeat these tasks as many times as necessary to create your websites.
Step 3: Create stores
- In the Admin panel, click Stores > Settings > All Stores.
-
On the Stores page, click Create Store.
- Web Site—Click the name of the website with which to associate this store.
- Name—Enter a name to identify the store.
- Code—Enter a unique code to identify the store.
- Root Category—Click the name of the root category for this store.
The following figure shows an example.

- Click Save Store.
- Repeat these tasks as many times as necessary to create your stores.
Step 4: Create store views
- In the Admin panel, click Stores > Settings > All Stores.
-
On the Stores page, click Create Store View.
- Store—Click the name of the store with which to associate this store view.
- Name—Enter a name to identify this store view.
- Code—Enter a unique name to identify this store view.
- Status—Select Enabled.
The following figure shows an example.
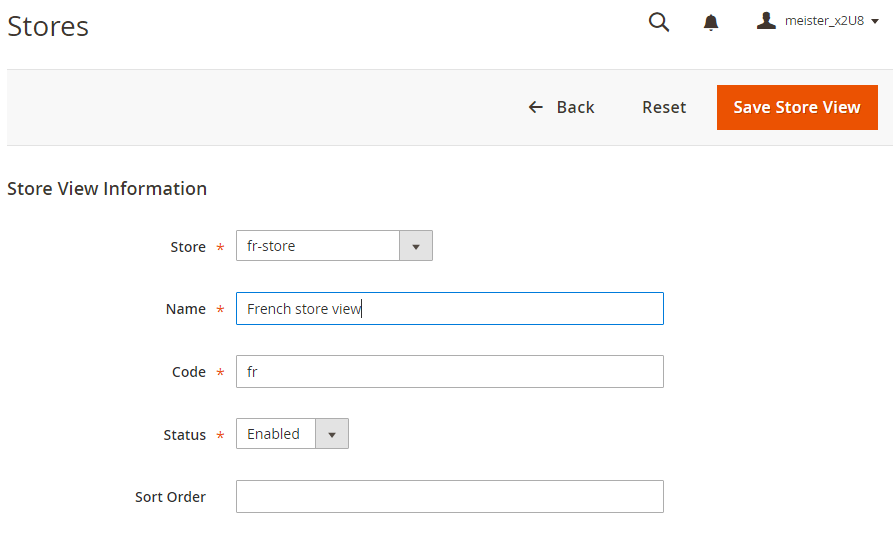
- Click Save Store View.
- Repeat these tasks as many times as necessary to create your store views.
Step 5: Change the website base URL
To access a website using a unique URL like http://french.magento.mg, you must change the base URL for each site in the Magento Admin.
- In the Admin panel, click Stores > Settings > Configuration > General > Web.
-
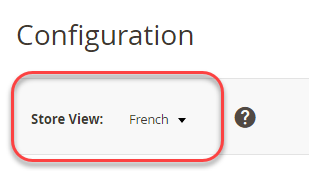
From the Store View list at the top of the page, click the name of one of your websites as the following figure shows.
- In the right pane, expand Base URLs.
- In the Base URLs section, clear Use system value.
-
Enter the
http://french.magento.mgURL in the Base URL and Base Link URL fields. -
Repeat the previous step in the Base URLs (Secure) section.
If you’re setting up a base URL for deployment Magento Commerce Cloud, you must replace the first period with three dashes. For example, if your base URL is
french.branch-sbg7pPa-f3dueAiM03tpy.us.magentosite.cloud, enter http://french—branch-sbg7pPa-f3dueAiM03tpy.us.magentosite.cloud. If you’re setting up a base URL for local testing, use a period. -
Click Save Config.
- Repeat these tasks for other websites.
Step 6: Add the store code to the base URL
Magento gives you the option to add the store code to the site base URL, which simplifies the process of setting up multiple stores. Using this option, you do not have to create directories on the Magento file system to store index.php and .htaccess.
This prevents index.php and .htaccess from getting out of sync with the Magento codebase in future upgrades.
For more information, see the Magento User Guide.
- In the Admin panel, click Stores > Settings > Configuration > General > Web.
-
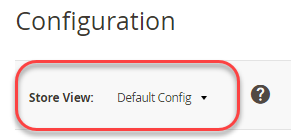
From the Store View list at the top of the page, click Default Config as the following figure shows.
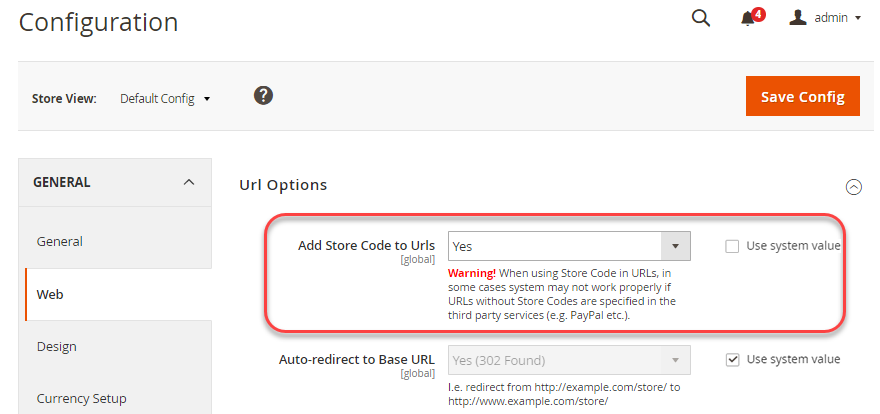
- In the right pane, expand Url Options.
- Clear the Use system value checkbox next to Add Store Code to Urls.
-
From the Add Store Code to Urls list, click Yes.
- Click Save Config.
- If prompted, flush the Magento cache. (System > Cache Management).
Step 7: Change the default store view base URL
You must perform this step last because you will lose access to the Magento Admin; your access returns after you set up virtual hosts as discussed in the web-server-specific topics.
-
In the Admin panel, click Stores > Settings > Configuration > General > Web.
-
From the Store View list at the top of the page, click Default Config.
- In the right pane, expand Base URLs.
- In the Base URLs section, clear Use system value.
-
Enter the
http://mysite.mgURL in the Base URL and Base Link URL fields. -
Repeat the previous step in the Base URLs (Secure) section.
If you’re setting up a base URL for Magento Commerce Cloud, you must replace the first period with three dashes. For example, if your base URL is
french.branch-sbg7pPa-f3dueAiM03tpy.us.magentosite.cloud, enter http://french—branch-sbg7pPa-f3dueAiM03tpy.us.magentosite.cloud. - Click Save Config.
Related topics