Step 4. Upgrade
The components you’re upgrading are displayed. The following figure shows an example.
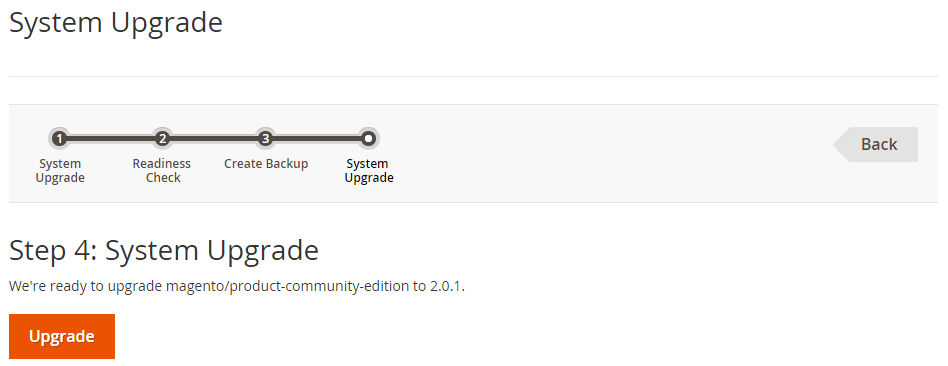
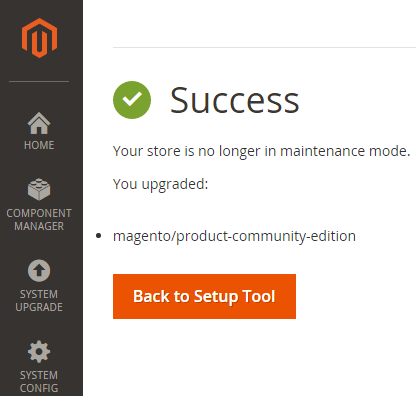
To complete the upgrade, click Upgrade. If the upgrade is successful, a page similar to the following displays.
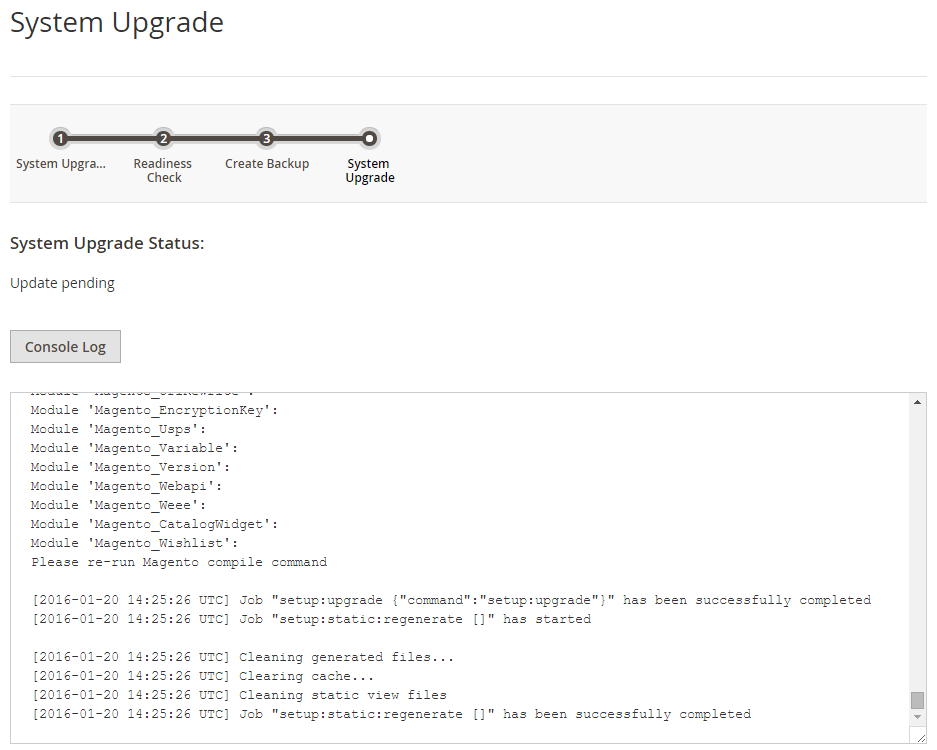
Messages similar to the following are displayed in the Console Log:
Clean the Magento cache
Clean the Magento cache:
1
bin/magento cache:clean
Manually clear directories
After the upgrade completes, manually clear var subdirectories:
1
rm -rf <Magento install dir>/var/cache/*
1
rm -rf <Magento install dir>/var/page_cache/*
1
rm -rf <Magento install dir>/generated/code/*
Restart Varnish
After the upgrade completes, restart Varnish if you use it for page caching.
1
service varnish restart
Then access your storefront and verify everything is working properly.
Errors after upgrade
After you finish your upgrade, errors might display.
-
On the main storefront page, the following error might display.
We’re sorry, an error has occurred while generating this email.
-
On a category page, the following error might display:
We can’t find products matching the selection.
If any of the preceding errors display, perform all of the following tasks.
Apply file system permissions and ownership
As part of the sample data upgrade process, you must apply current file system permission and ownership as discussed in the following sections. Failure to do so will cause your upgrade to fail.
For more information about file system ownership and permissions, see Overview of ownership and permissions.
One-user ownership and permissions
If you run the Magento application as one user (which is typical of shared hosting environments), change file system permissions and ownership as follows:
1
cd <magento_root>
1
chmod -R g+w var vendor pub/static pub/media app/etc
1
chmod u+x bin/magento
To optionally enter all commands on one line, enter the following assuming Magento is installed in /var/www/html/magento2:
1
cd /var/www/html/magento2 && chmod -R g+w var vendor pub/static pub/media app/etc && chmod u+x bin/magento
After you set file system permissions, manually clear the var/cache, var/page_cache, and var/generation directories.
A sample command follows:
1
rm -rf var/cache/* var/page_cache/* var/generation/*
Two-user ownership and permissions
If you run the Magento application with two users, enter the following commands as a user with root privileges:
1
cd <magento_root>
1
find var vendor pub/static pub/media app/etc -type f -exec chmod g+w {} +
1
find var vendor pub/static pub/media app/etc -type d -exec chmod g+ws {} +
1
chown -R :<web server group> .
1
chmod u+x bin/magento
To optionally enter all commands on one line, enter the following assuming Magento is installed in /var/www/html/magento2 and the web server group name is apache:
1
cd /var/www/html/magento2 && find var vendor pub/static pub/media app/etc -type f -exec chmod g+w {} + && find var vendor pub/static pub/media app/etc -type d -exec chmod g+ws {} + && chown -R :apache . && chmod u+x bin/magento
Clear var and generated directories
Clear the var/cache, var/page_cache, generated/code
A sample command follows:
1
rm -rf var/cache/* var/page_cache/* generated/code/*
Access your storefront again
After performing the preceding tasks, access your storefront again. If necessary, press Control+R to force the page to reload.