Set up an account and project
Previous step
Prepare for local environment setup
To begin working with a project and develop your store, you should have received an e-mail invitation to create a Magento Enterprise Cloud Edition account. The account provides access to your project for Magento development and deployment across all supported environments.
You should receive an e-mail invitation to verify and access the account. If you do not see the invitation, check your junk e-mail folder. Click the Verify my account option in the email to verify and access your account.
When logged in, you should see a project named and ready to access.
We recommend always starting with the blank site from a template as your initial project option. Completely deploy this code across your entire environment from Integration to Staging to Production for a clear experience with deployment in Magento Commerce Cloud. If you have an existing Magento deployment, import code, extensions, themes, and data after fully deploying this base Magento code.
- Access your account. You can open the email you received from Magento Cloud (accounts@magento.cloud) and click the Access your project now link. Or you can log in to your Magento Commerce account.
-
Click the This project has no code yet link next to the Project name.

-
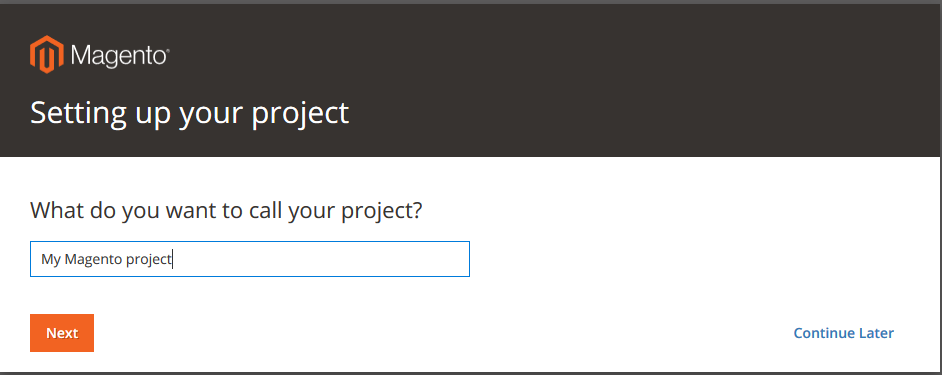
Enter a name for the project.
-
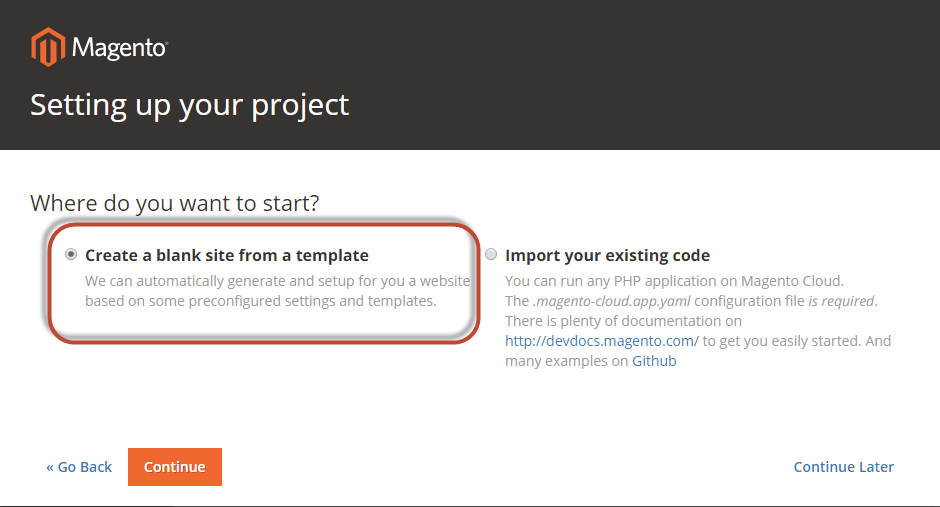
Click Create a blank site from a template and click Continue. We recommend starting with the Magento template as your initial project option. If you have an existing Magento deployment, you can later import code, extensions, themes, and data after fully deploying this base Magento code.
-
When prompted, enter your Magento Commerce Magento authentication keys in the provided fields. You created these keys earlier in the Magento Marketplace. Enter the private and public keys and click Finish.
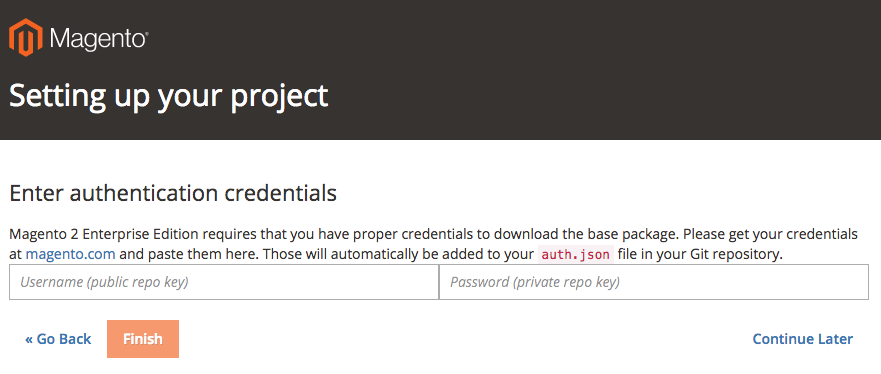
The keys are added to the
auth.jsonfile in the repositorymasterbranch, required for all created branches and deployments. -
Wait a few minutes while the project deploys. A status of Pending displays until completed, similar to the following:
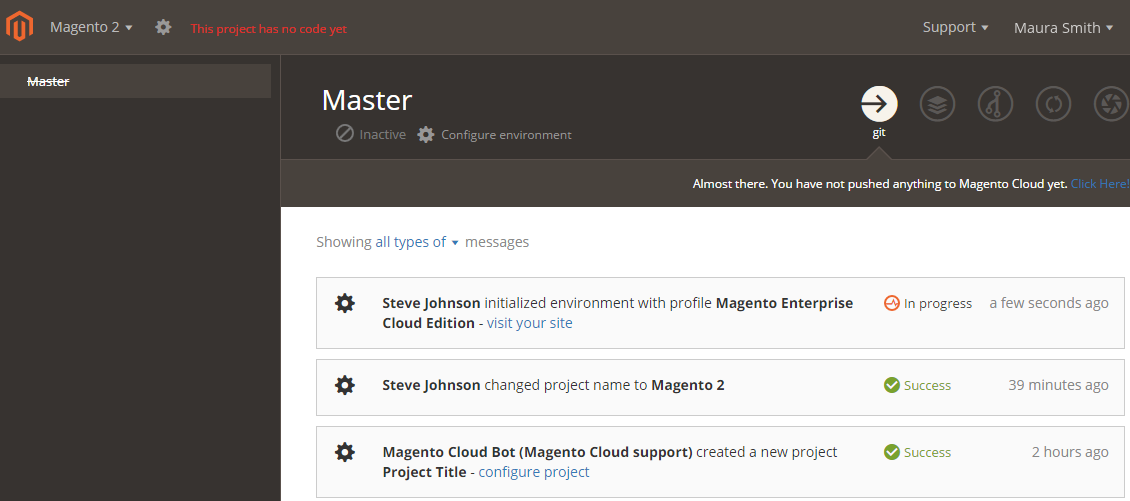
- After the project deploys, Success displays next to the name of your project.
Next step